
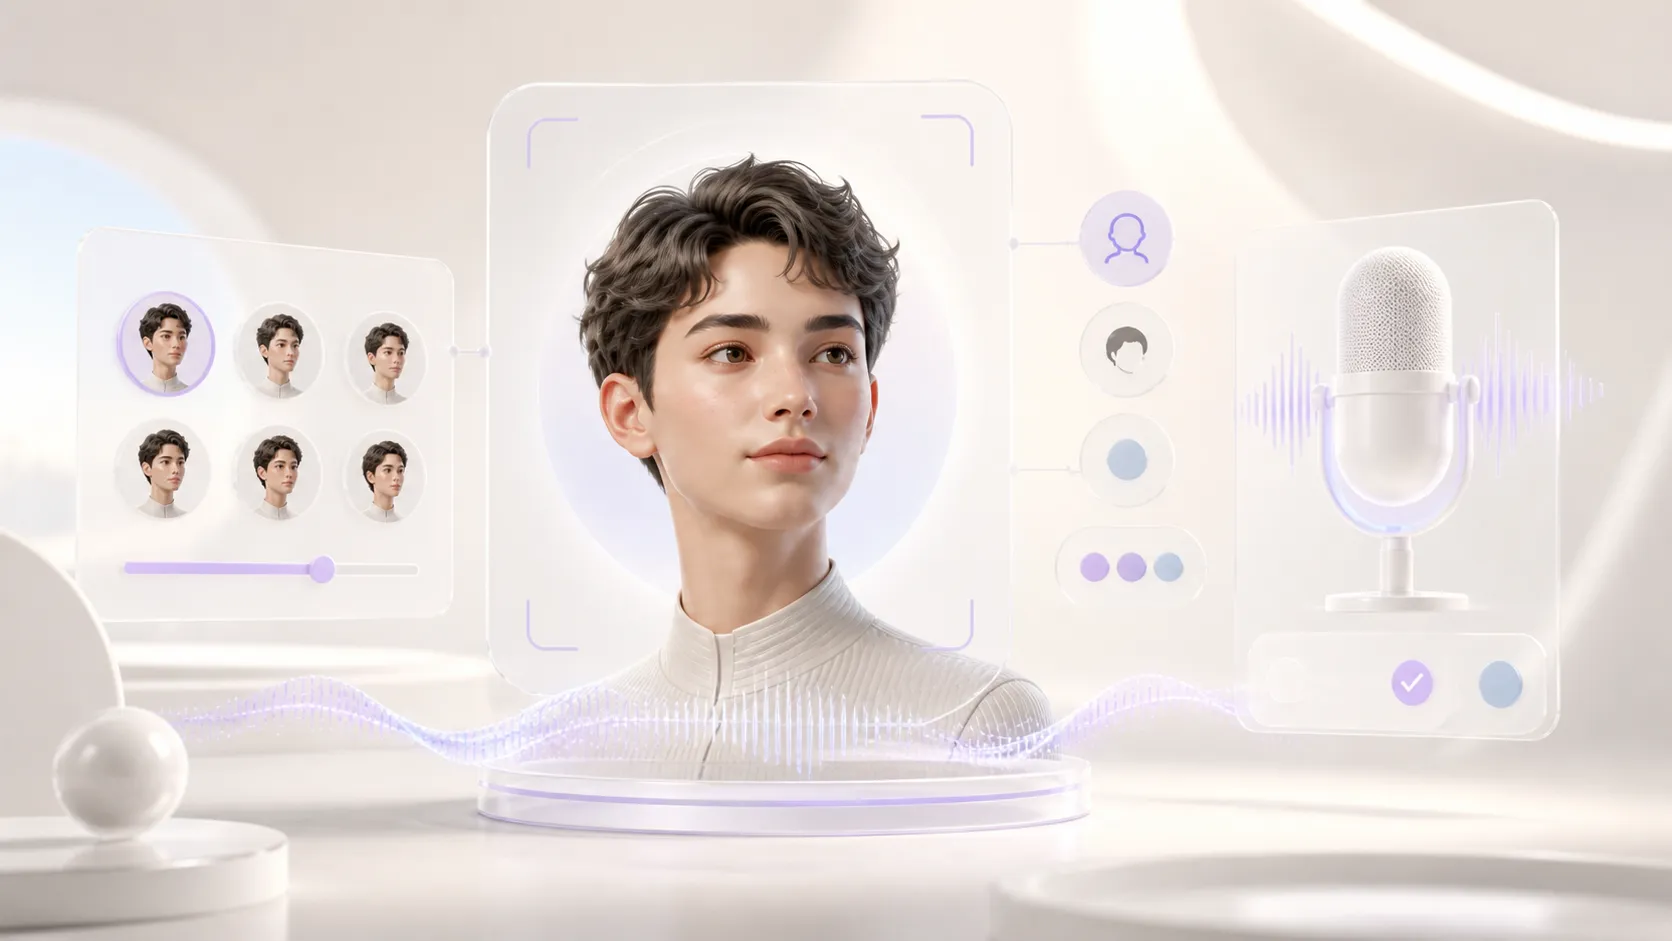
After creating your first profile, the next step is to give it a recognizable presence. In Bigmelo, you can choose its image, generate an avatar, and configure an authorized voice so the experience preserves your visual and vocal identity.
1. Open the profile editor
From the Bigmelo dashboard, go to Profiles, select the profile you just created, and open its settings. This is where you will find the options for completing its image and voice.
Before you begin, prepare a clear, recent, well-lit photo. Avoid blurry images, heavy filters, or anything that hides the face: a strong source image helps produce a better result.
2. Add and adjust the image
Upload a JPG, PNG, or WEBP image. The editor lets you crop, zoom, and reposition it so the face is properly centered. Check the preview and save your changes when you are satisfied.
Bigmelo will process the image to create the avatar. This may take a few minutes. When it is ready, you can view the generated avatar history and select the version you want to keep active on the profile.
Only use your own image or the image of someone who has given you explicit permission. Identity and consent are essential to a trustworthy digital presence.
3. Clone an authorized voice
In the voice section, choose the profile’s primary language and select Clone voice. Find a quiet place without music, echo, or background conversations, and use a microphone that captures your voice clearly.
Bigmelo will display a guided reading. Read it naturally without exaggerating your pronunciation or changing your usual speaking style. The process may take up to three minutes. When you finish, you can listen to the sample, record it again if needed, and save it.
Voice cloning also requires consent. Record your own voice or one whose owner has explicitly authorized this use; never use third-party recordings without permission.
4. Test how it sounds
Once the voice is available, use the test option to hear a response. Check its pace, pronunciation, and language. If the result does not represent the profile well, record a new sample in better conditions.
Enable the voice so the profile can answer with audio. You can also choose whether audio plays automatically. If you prefer a text-only experience, keep voice disabled: the profile will continue responding in writing.
Watch the complete step
This video shows how to personalize the avatar and configure your profile’s voice:
Watch the video directly on YouTube
When you finish, you will have an active image and, if you choose, an authorized voice ready for conversations. The next step is to teach the profile which information it can use.